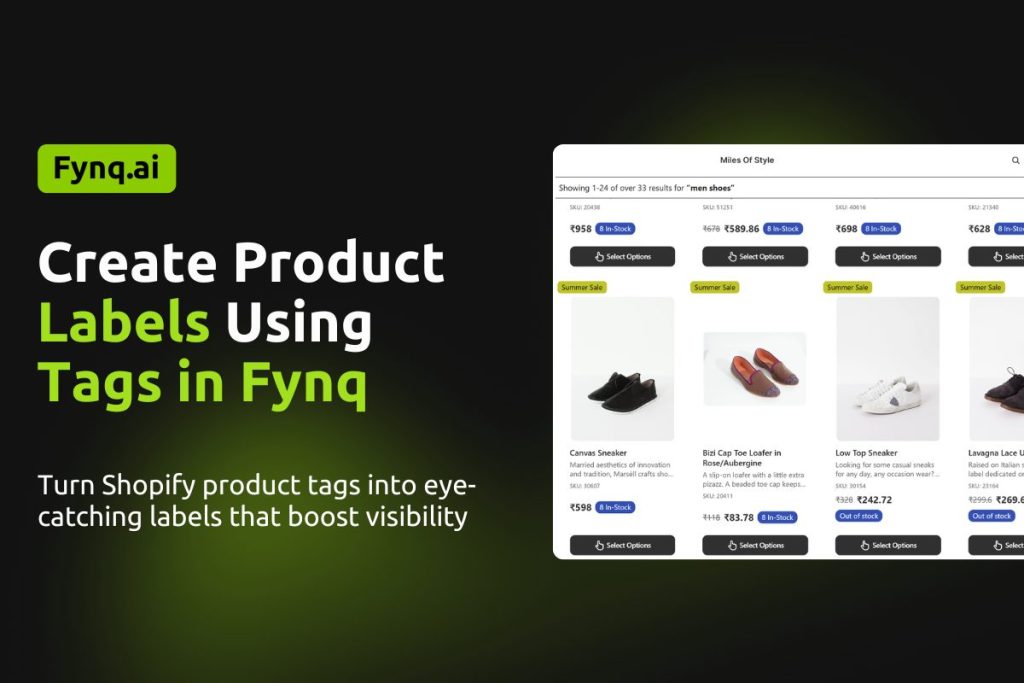
How to Create Product Labels Using Tags in Fynq
Why Use Product Labels at All?
Product labels are those little text boxes or image icons that show up on product images. These are the most commonly used merchandising strategies that might say “Bestseller,” “New Arrival,” or “Limited Stock”, or anything you set. These simple labels help products stand out and attract customers’ attention. They can even influence what someone chooses to click on or buy.
In Fynq, you can create these labels based on the tags already added to your products. This means you’re using the data you already have (if you don’t have, you can add tags first from Shopify Admin’s Products section) and turning it into something more helpful for shoppers.
Let’s walk through how to do this step by step.
Where to Find the Labels by Tags Settings
First, you need to get to the right place inside the Fynq app.
- Open the Fynq app in your Shopify admin.
- Go to Merchandising from the left-hand menu.
- You’ll land on Product Labels (the first tab)
- Come to the first section: Labels by Tags.
- Click + Add New Label to start creating one.

Now you’re ready to build your label.
How To Create Your Label Using Product Tags
Each step in this part is simple; it helps to know what each option really does. Here’s what you’ll see and what it means:
1. Search for Product Tags

Use this to find the tag you’ve already added to your products in Shopify. For example, if your product has a tag like bestseller, you can use that to trigger a label.
2. Add Label Text or Image
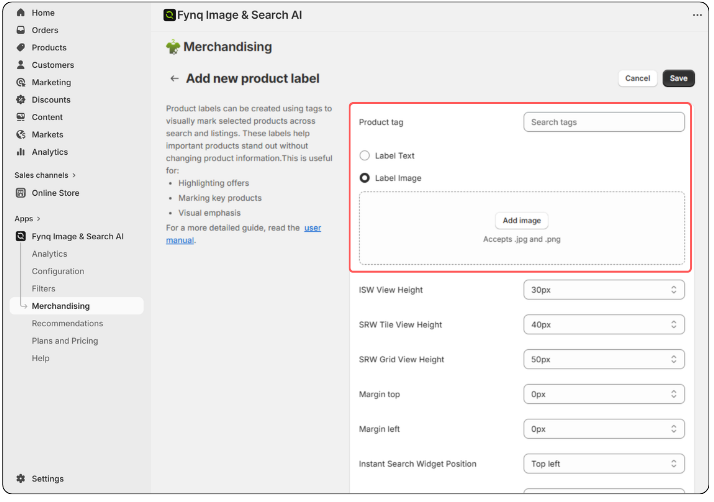
This is what the customer will see on the product.
You can write something like “Top Pick” or “Back in Stock.”
Or upload a small image, like a badge or sticker.
Note: You can add dynamic text using variables like [discount] or [quantity]. These will pull live data from your store. Please mind spelling; a simple typo can restrict data from the API. For best visibility, we recommend keeping the label text between 12 to 20 characters.
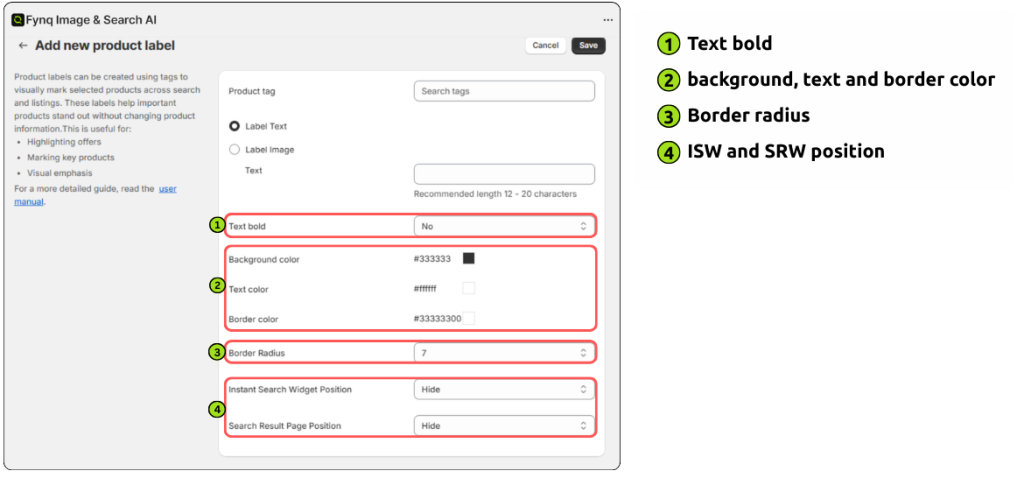
3. Choose Bold Text (If needed)
If you want your text to stand out more, you can turn on the Bold Text option. By default, the function is chosen as ‘No’. You can choose ‘Yes’ from the dropdown. It’s not required, but it helps when the label has fewer words.
4. Pick Your Colors
Now you can choose:
- Background color – This fills the box behind your label text or image.
- Text color – The color of the words you’ve typed.
- Border color – A small outline around the label, optional but helpful if you want it to stand out.
Choose colors that match your store’s design, or ones that pop clearly against your product photos.
5. Set the Border Radius
This setting controls how round the corners of the label look.
- A lower number gives it sharp corners.
- A higher number makes it more rounded like a bubble.
You can choose any number between 1-10 that works best for your store’s appearance. Try a few and preview them to see what feels right.
6. Select Where the Label Should Appear
You get to choose the position of the label in two places:
- On the Instant Search Widget (that pop-up box when people type in your search bar).
- On the Search Results Page (the full page showing all search results).
For each one, pick where you want the label to show:
- Default (i.e., just beside the Product price)
- Top left
Otherwise, you can hide for any specific result page, if you don’t want to show the tag on the Instant search result page but want to keep it on the Search result page, or vice versa. Think about what looks best with your product images.
7. Save Your Label
Once everything looks the way you want it to, click Save.
Fynq will now add that label to any product with the matching tag. You can now go to your storefront and search for the product you just added the label to. The label should be there on the product card.
If the label is NOT appearing, it may be caused by overlapping. Go through the article: Managing and styling your product labels across your store – to reorder the priority sequence.
Wrap-up
Labels make your products easier to notice, and creating them using tags keeps the process fast and organized. You already use tags to group products or mark key features; now you can turn them into eye-catching labels that help your customers find what they want faster.
It takes just a few minutes to set up, and once you do, it works behind the scenes every time someone searches your store. Give it a try and see how even small labels can make a big difference in how people shop.